Atwood's guide to knot tying makes it look easy. Most of us consider ourselves competent knot tyers after we've mastered our shoe laces and the dreaded business tie but there's more to learn if you want to increase your odds of mastering survival. This knot tying guide is straightforward and easy to follow. Even the most intimidated novice will be proficient in no time!


Essential Knots for Personal Preparedness: Survival Knot Guide for Preppers
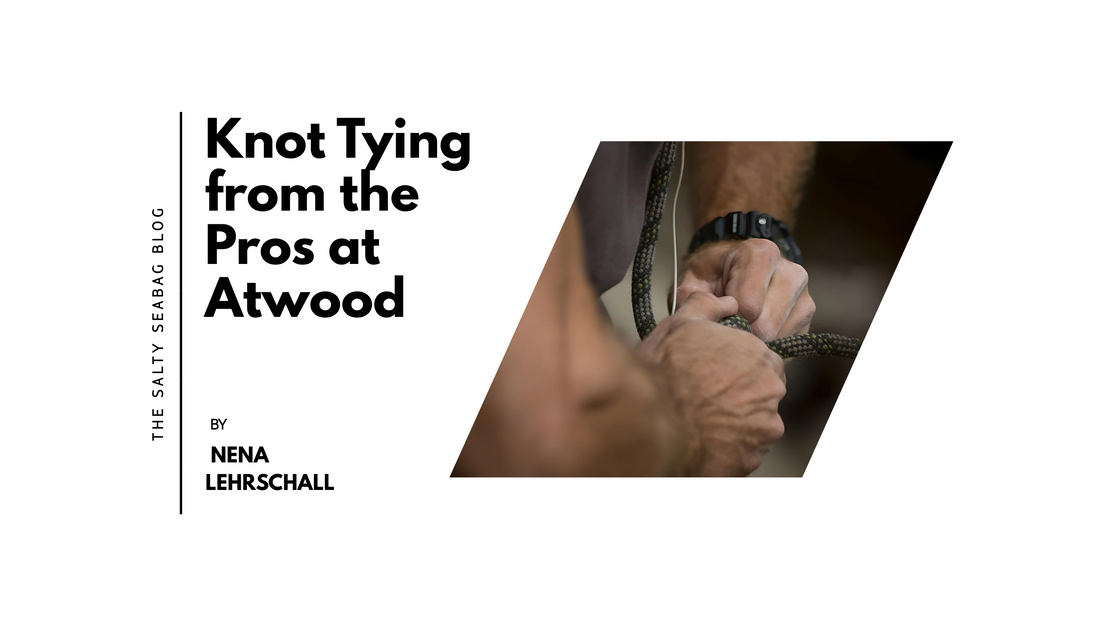
In any survival situation, the ability to quickly and effectively tie knots is one of the most valuable skills you can possess. Whether you’re securing gear, building shelter, or handling emergencies, a well-tied knot can make all the difference. At Salty Sea Bag, we focus on giving you the knowledge and tools to stay prepared, and today we’re highlighting some of the most essential knots for survival, as shown in the visual guide above.
We’ll cover what these knots are typically used for, and provide additional insights into how mastering these simple techniques can improve your overall preparedness.
1. Lariat Loop Knot
Why it's essential: The Lariat Loop Knot is known for its versatility and adjustability. In survival situations, it can be used to make a quick snare for trapping, secure gear to a post, or even help you fashion an improvised harness.
Pro tip: The key to using this knot effectively is its adjustability—it can tighten without slipping. Keep in mind that it’s also easy to undo, making it ideal for tasks that require quick changes or adjustments.
2. Half Hitch Knot
Why it's essential: The Half Hitch Knot is one of the simplest and most reliable knots to tie. It's often used to secure ropes to posts or trees, making it perfect for setting up a tarp shelter or tying down loads.
Pro tip: While the Half Hitch is simple, it’s also a building block for more complex knots like the Double Half Hitch. When more security is needed, you can always add another hitch or combine it with other knots.
3. Prusik Hitch Knot
Why it's essential: The Prusik Hitch Knot is a friction-based knot that locks when weight is applied, but slides easily when tension is released. This makes it essential for climbing, creating safety lines, or adjusting ropes in an emergency situation.
Pro tip: Always use a smaller diameter rope for the Prusik Knot compared to the main rope. This ensures that the knot grips firmly when tension is applied, which is vital for safety when using it to climb or secure gear.
4. Slip Knot
Why it's essential: The Slip Knot is perfect for quick-release applications. It tightens under load but can be easily undone when you pull the free end. It’s ideal for traps, tying down gear, or even tethering animals in a survival scenario.
Pro tip: The Slip Knot is perfect for situations where you need to repeatedly adjust tension or quickly untie the rope. It’s not ideal for securing heavy loads over long periods, but it’s a great knot for temporary use.
5. Munter Hitch Knot
Why it's essential: The Munter Hitch Knot is a must-know for those who might need to descend steep inclines or lower heavy gear in a controlled manner. It offers a smooth and controlled feed of the rope, making it ideal for belaying in climbing or rescue situations.
Pro tip: Always use this knot with a sturdy carabiner to ensure smooth rope flow. It’s essential to practice controlling the descent using this knot, as it’s often used in high-pressure situations like rappelling or emergency evacuation.
6. Girth Hitch Knot
Why it's essential: The Girth Hitch Knot is incredibly simple but very effective for securing loops of rope around trees, poles, or other objects. It’s often used to attach gear to a belt or pack, or to secure a rope to a fixed point when setting up camp.
Pro tip: Keep this knot in mind when setting up gear in a hurry. It’s quick to tie and holds well under consistent tension, but be careful when attaching it to items under a lot of load as it can be difficult to untie after being stressed.
7. Bowline Knot
Why it's essential: The Bowline Knot is one of the most dependable knots, creating a secure loop that won’t slip or tighten under load. This makes it perfect for tying rescue lines or securing heavy gear that you need to hoist or lower.
Pro tip: Although the Bowline is strong, it can loosen when it’s not under tension. Always check your knot before using it in critical situations, especially if it’s been subjected to repetitive movements or heavy load shifts.
8. Overhand Knot
Why it's essential: One of the simplest knots, the Overhand Knot forms a basic stopper knot to prevent a rope from slipping through a loop or hole. It’s also used as the foundation for many other more complex knots.
Pro tip: This is a great knot for creating temporary stops on your rope to keep it from fraying or slipping. If you need a stronger stopper, simply tie multiple overhand knots in succession for increased security.
9. Overhand on a Bight Knot
Why it's essential: This knot allows you to create a secure loop in the middle of a rope. It’s a quick and easy way to create an anchor point, whether you’re hanging gear, tying a hammock, or building an emergency shelter.
Pro tip: This knot is a favorite for attaching equipment mid-rope without needing access to the ends. Practice tying this knot quickly to make your camp setup more efficient.
10. Square/Reef Knot
Why it's essential: The Square Knot (also called the Reef Knot) is used to tie two ends of a rope together, commonly for securing bundles or packages. However, it’s not suitable for heavy loads as it can slip under strain.
Pro tip: While this knot is commonly used in first aid to tie bandages, remember not to rely on it for critical load-bearing tasks. Always double-check that it’s tied properly and combine it with other knots for extra security when necessary.
Knots: More Than Just Survival Skills
Having a solid understanding of these essential knots not only improves your survival chances, but also your overall preparedness. Being able to secure gear, build shelters, and create safety lines with confidence is a crucial part of any prepper’s skillset.
Here are some additional tips for working with knots in survival situations:
-
Practice Makes Perfect: Don’t wait for an emergency to try these knots for the first time. Practice them regularly until they become second nature. This ensures you can tie them quickly and correctly under pressure.
-
Use the Right Rope: Different knots perform better with certain types of ropes. Always test your knots with the same rope or cordage you plan to carry in your emergency kit.
-
Keep Ropes in Good Condition: Worn or damaged ropes can fail at critical moments. Regularly inspect your ropes for wear and tear, and always have a backup in your gear.
-
Adapt to the Situation: Not every knot is ideal for every situation. Be flexible and adapt your knots to the task at hand—whether you’re securing heavy loads or creating a quick-release system for easy adjustments.
At Salty Sea Bag, we provide the gear you need to stay prepared for anything. Whether it’s premium paracord, survival ropes, or other essential tools, we’ve got you covered. Visit our Personal Preparedness section to ensure you have the equipment and knowledge to tie these essential knots and face any challenge. Stay ready, stay prepared, and keep knotting!